(Page créée avec « {{Item |Main_Picture=Item-Cuillère_à_café_shopping.png |Description=Cuillère à café |Categories=Outils |Cost=1 |Currency=EUR (€) }} {{Tuto Status |Complete=Publish... ») |
|||
| Ligne 1 : | Ligne 1 : | ||
| − | {{ | + | {{Tuto Details |
| − | |Main_Picture= | + | |Main_Picture=Fusée_à_air_RIMG1190.JPG |
| − | |Description= | + | |Licences=Attribution (CC-BY) |
| − | | | + | |Description=Comment fabriquer une fusée à air avec des objets qu'on a à la maison. |
| − | | | + | |Area=Astronomy, Mechanics, Physics |
| − | | | + | |Difficulty=Easy |
| + | |Duration=20 | ||
| + | |Duration-type=minute(s) | ||
| + | |Tags=fusée, air, pression | ||
}} | }} | ||
| + | {{Introduction}} | ||
| + | {{Materials | ||
| + | |ItemList={{ItemList | ||
| + | |Item=Bouteille plastique | ||
| + | }}{{ItemList | ||
| + | |Item=Ciseaux | ||
| + | }}{{ItemList | ||
| + | |Item=Vrille | ||
| + | }}{{ItemList | ||
| + | |Item=Paille | ||
| + | }}{{ItemList | ||
| + | |Item=Pate à modeler | ||
| + | }}{{ItemList | ||
| + | |Item=Règle | ||
| + | }}{{ItemList | ||
| + | |Item=Crayon | ||
| + | }}{{ItemList | ||
| + | |Item=Papier | ||
| + | }}{{ItemList | ||
| + | |Item=Scotch | ||
| + | }} | ||
| + | }} | ||
| + | {{Separator}} | ||
| + | {{Tuto Step | ||
| + | |Step_Title=Étape 1 | ||
| + | |Step_Content=Une fois tout le matériel réuni, vous pouvez donc passer à l'étape 1. Pour cette étape vous aurez besoin de deux pailles de diamètre différent que vous devrez raccourcir. | ||
| + | |Step_Picture_00=Fusée_à_air_collage_1.jpg | ||
| + | }} | ||
| + | {{Tuto Step | ||
| + | |Step_Title=Étape 2 | ||
| + | |Step_Content=Pour cette selon | ||
| + | |Step_Picture_00=Fusée_à_air_collage_2.jpg | ||
| + | }} | ||
| + | {{Tuto Step | ||
| + | |Step_Title=Étape 3 | ||
| + | |Step_Picture_00=Fusée_à_air_collage_3.jpg | ||
| + | }} | ||
| + | {{Tuto Step | ||
| + | |Step_Title=Étape 4 | ||
| + | |Step_Picture_00=Fusée_à_air_collage_4.jpg | ||
| + | }} | ||
| + | {{Tuto Step | ||
| + | |Step_Title=Étape 5 | ||
| + | |Step_Picture_00=Fusée_à_air_collage_5.jpg | ||
| + | }} | ||
| + | {{Tuto Step | ||
| + | |Step_Title=Étape 6 | ||
| + | |Step_Picture_00=Fusée_à_air_collage_6.jpg | ||
| + | }} | ||
| + | {{Tuto Step | ||
| + | |Step_Title=Étape 2 | ||
| + | |Step_Picture_00=Fusée_à_air_collage_2.jpg | ||
| + | }} | ||
| + | {{Tuto Step | ||
| + | |Step_Title=Étape 3 | ||
| + | |Step_Picture_00=Fusée_à_air_collage_3.jpg | ||
| + | }} | ||
| + | {{Tuto Step | ||
| + | |Step_Title=Étape 4 | ||
| + | |Step_Picture_00=Fusée_à_air_collage_4.jpg | ||
| + | }} | ||
| + | {{Tuto Step | ||
| + | |Step_Title=Étape 5 | ||
| + | |Step_Picture_00=Fusée_à_air_collage_5.jpg | ||
| + | }} | ||
| + | {{Tuto Step | ||
| + | |Step_Title=Étape 6 | ||
| + | |Step_Picture_00=Fusée_à_air_collage_6.jpg | ||
| + | }} | ||
| + | {{Notes}} | ||
{{Tuto Status | {{Tuto Status | ||
|Complete=Published | |Complete=Published | ||
}} | }} | ||
Version du 31 juillet 2019 à 15:07
Comment fabriquer une fusée à air avec des objets qu'on a à la maison.

Difficulté
Facile
Durée
20 minute(s)
- Matériel et outils
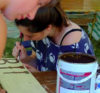
Bouteille plastique 

Une bouteille, mais en plastique quoi
Ciseaux 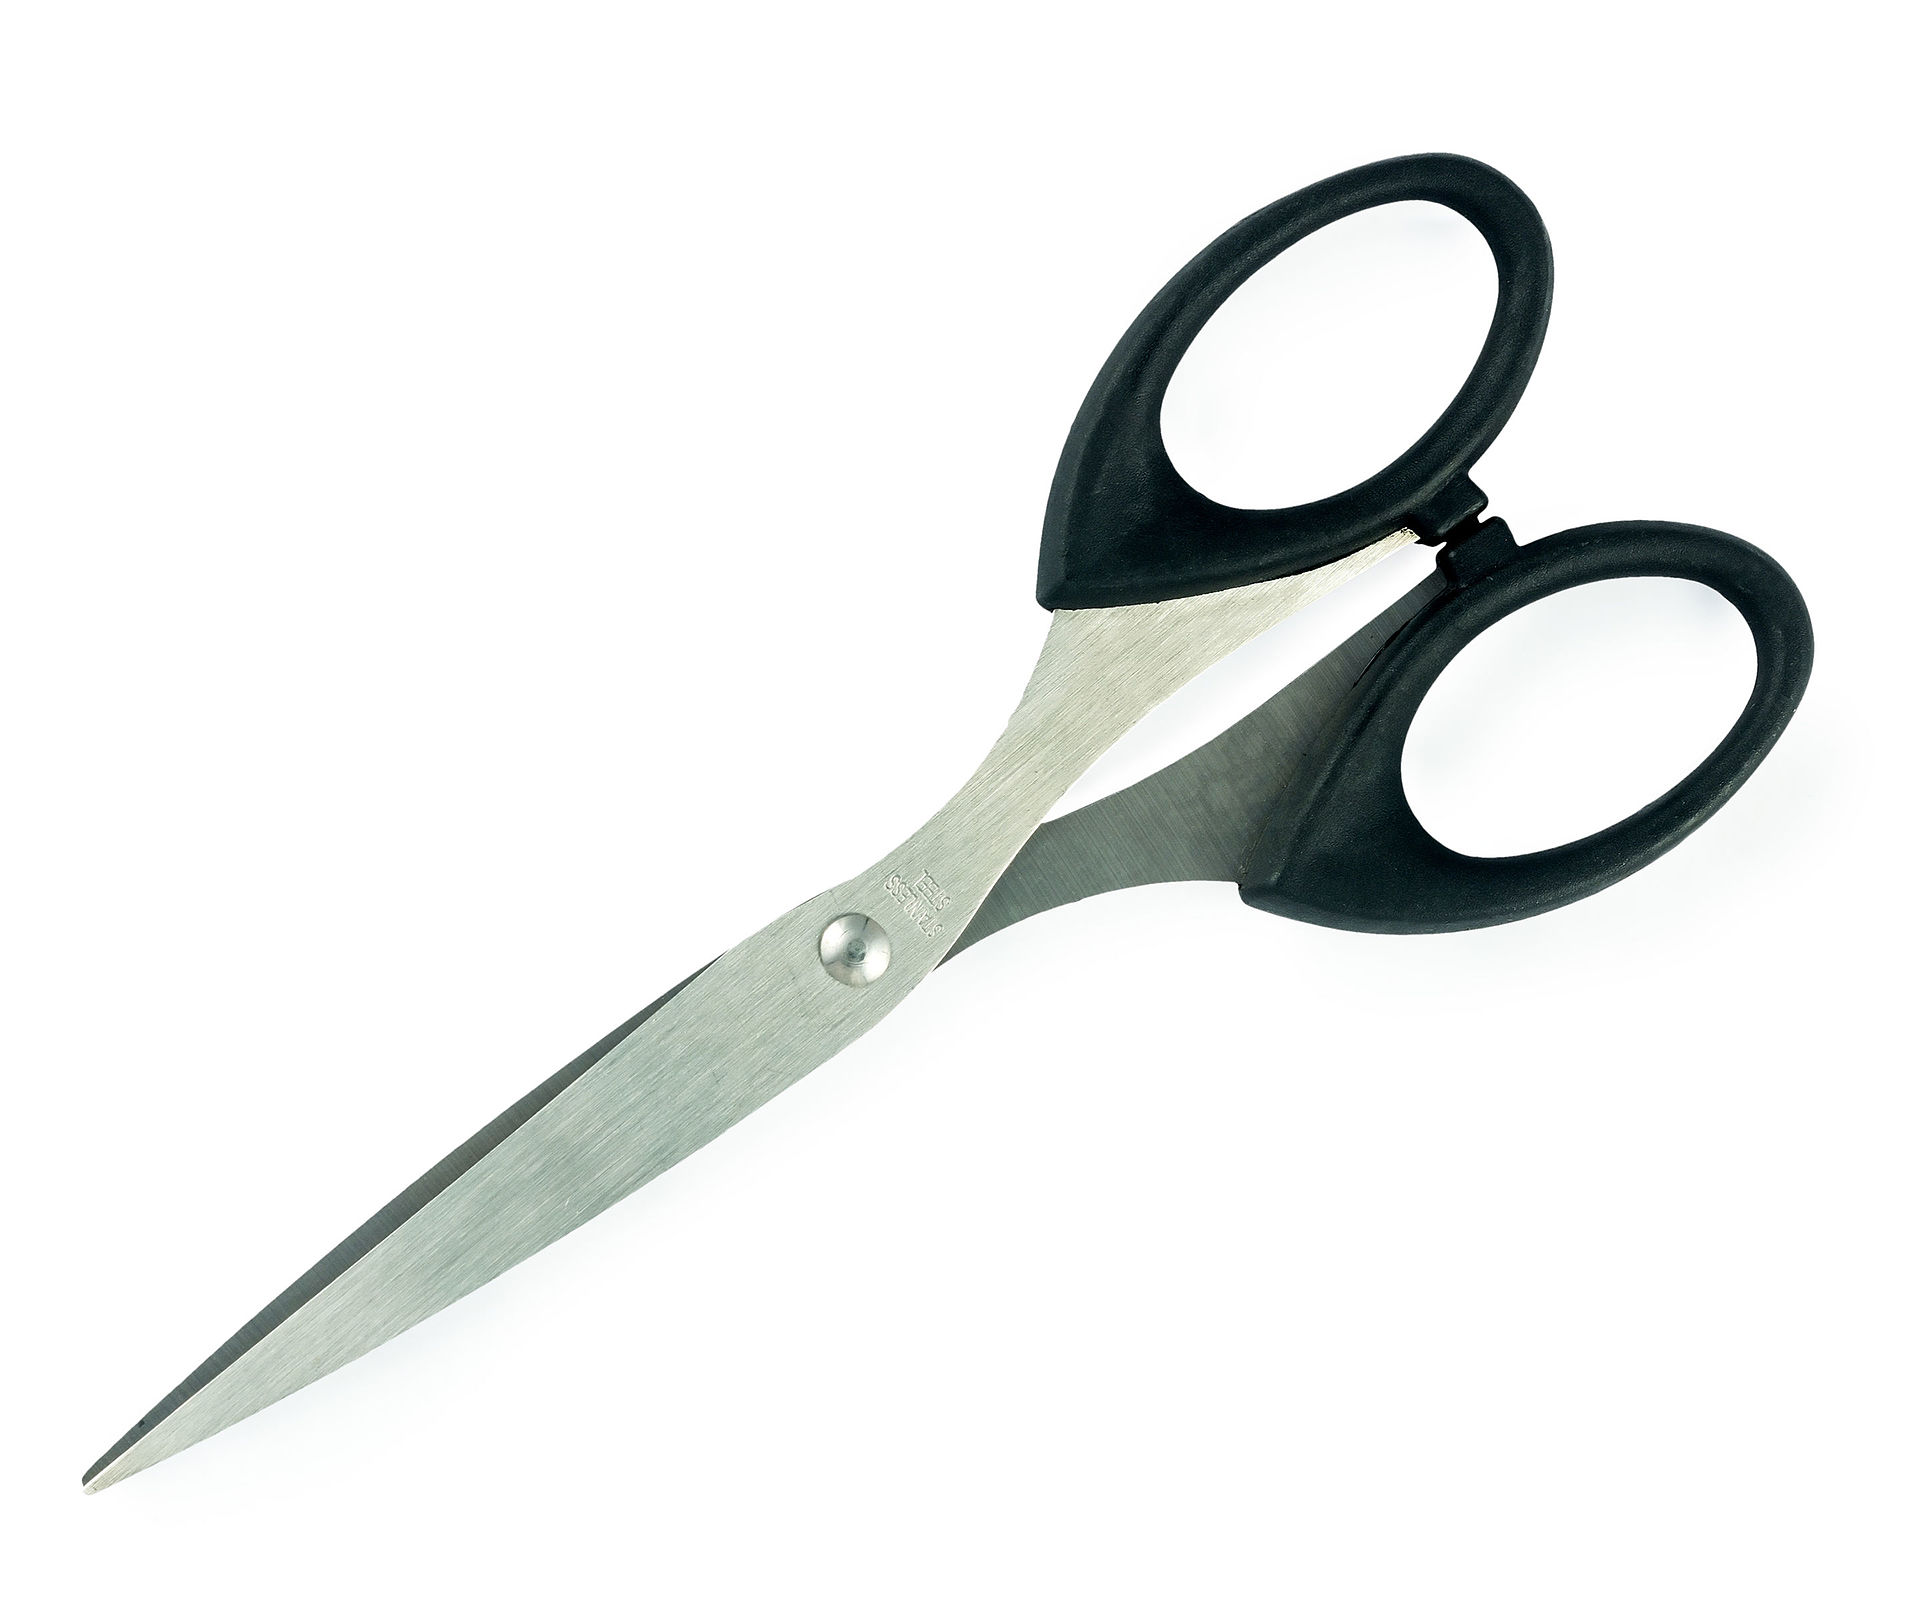

Un paire de ciseaux est un outil comportant deux lames mobiles articulées qui glissent l'une sur l'autre pour trancher les matériaux minces.
Vrille 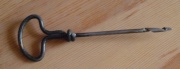

Une vrille est un outil manuel, avec en embout en spirale, permettant de faire des trous, d'un diamètre lié à la taille de l'outil, dans le bois1. C'est une sorte de mèche actionnée à la main.
Paille 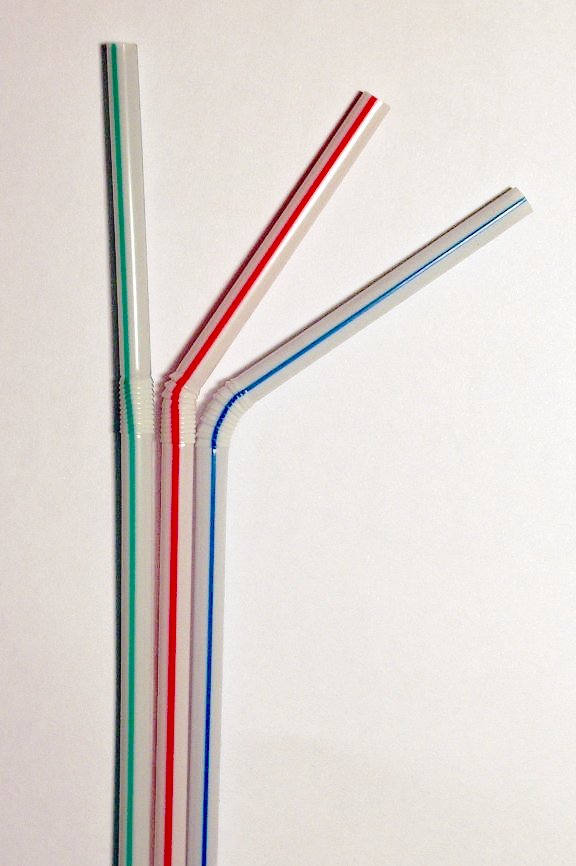

Une paille, ou chalumeau, est un tube léger, généralement fait en plastique, dont on se sert pour aspirer, et le plus souvent boire, un liquide.
Pate à modeler 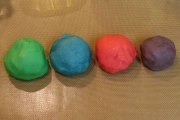

L'invention de la pâte à modeler s'inspire de la terre glaise utilisée par les sculpteurs, qui a l'avantage de durcir en séchant. Pour des esquisses, pour l'utilisation par les enfants, ou plus récemment, pour du travail en animation, il convient d'avoir un matériau qui ne durcit pas définitivement, elle a donc naturellement évolué vers des matériaux plus consistants et malléables.
Règle
[[File:]]
Au sens matériel, une règle est un instrument de mesure gradué à arêtes rectilignes servant à tracer des traits droits ou à mesurer des longueurs.
Crayon 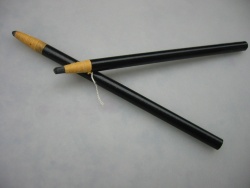

Long et fin, souvent polygonal et parfois coloré à l'extérieur, le crayon est un outil simple qui sert à écrire. Les mines sont parfois de couleurs différentes. Les mines de graphite des crayons à papier ont des duretés différentes (HB, H, etc.).
Papier 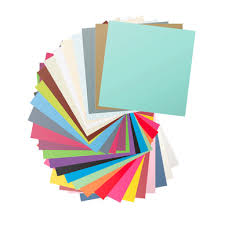

Le papier (du latin papyrus) est une matière fabriquée à partir de fibres cellulosiques végétales. Il se présente sous forme de feuilles minces et est considéré comme un matériau de base dans les domaines de l’écriture, du dessin, de l’impression, de l’emballage et de la peinture. Il est également utilisé dans la fabrication de composants divers, comme les filtres.
L’histoire du papier remonte à l’Antiquité. Le papier porteur d’un message le plus ancien connu à ce jour date de l’an 8 av. J.-C. et a été trouvé en Chine.
Scotch 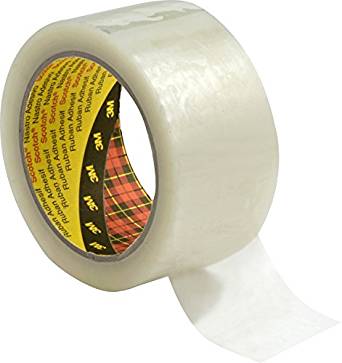

Scotch transparent
Étape 1 - Étape 1
Une fois tout le matériel réuni, vous pouvez donc passer à l'étape 1. Pour cette étape vous aurez besoin de deux pailles de diamètre différent que vous devrez raccourcir.

Étape 2 - Étape 2
Pour cette selon

Étape 3 - Étape 3

Étape 4 - Étape 4

Étape 5 - Étape 5

Étape 6 - Étape 6

Étape 7 - Étape 2
Étape 8 - Étape 3
Étape 9 - Étape 4
Étape 10 - Étape 5
Étape 11 - Étape 6
Dernière modification 15/10/2019 par user:Pierreb.
Published