(Page créée avec « {{Tuto Details |Licences=Attribution (CC-BY) |Description=Durant cette expérimentation nous réaliseront un petit jeu basé sur le temps de réaction de l'utilisateur. |D... ») |
|||
| (2 révisions intermédiaires par le même utilisateur non affichées) | |||
| Ligne 1 : | Ligne 1 : | ||
{{Tuto Details | {{Tuto Details | ||
| + | |Main_Picture=R_action_Boitier.jpg | ||
|Licences=Attribution (CC-BY) | |Licences=Attribution (CC-BY) | ||
|Description=Durant cette expérimentation nous réaliseront un petit jeu basé sur le temps de réaction de l'utilisateur. | |Description=Durant cette expérimentation nous réaliseront un petit jeu basé sur le temps de réaction de l'utilisateur. | ||
| − | |Disciplines scientifiques=Arduino | + | |Disciplines scientifiques=Arduino, Computing |
|Difficulty=Easy | |Difficulty=Easy | ||
|Duration=4 | |Duration=4 | ||
| Ligne 20 : | Ligne 21 : | ||
}}{{ItemList | }}{{ItemList | ||
|Item=Bouton poussoir | |Item=Bouton poussoir | ||
| − | |||
| − | |||
}}{{ItemList | }}{{ItemList | ||
|Item=Résistance | |Item=Résistance | ||
}}{{ItemList | }}{{ItemList | ||
|Item=LED | |Item=LED | ||
| + | }}{{ItemList | ||
| + | |Item=Afficheur LCD | ||
}} | }} | ||
}} | }} | ||
{{Tuto Step | {{Tuto Step | ||
| − | |Step_Title= | + | |Step_Title=Le code |
| − | |Step_Content=< | + | |Step_Content=<syntaxhighlight lang="arduino" line="1"> |
| − | + | #include <Wire.h> | |
| − | + | #include "rgb_lcd.h" | |
rgb_lcd lcd; | rgb_lcd lcd; | ||
| − | |||
const int led_pin = 2, | const int led_pin = 2, | ||
| − | |||
pin_button = 4, | pin_button = 4, | ||
| − | |||
begin_button = 6, | begin_button = 6, | ||
| − | |||
red_led_pin=8, | red_led_pin=8, | ||
| − | |||
yellow_led_pin=9, | yellow_led_pin=9, | ||
| − | + | green_led_pin=10; | |
| − | green_led_pin=10; | ||
| − | |||
unsigned long temps, tempsf; | unsigned long temps, tempsf; | ||
| − | |||
int attente; | int attente; | ||
void setup() { | void setup() { | ||
| − | |||
| − | |||
| − | |||
pinMode(led_pin,OUTPUT); | pinMode(led_pin,OUTPUT); | ||
| − | |||
pinMode(red_led_pin,OUTPUT); | pinMode(red_led_pin,OUTPUT); | ||
| − | |||
pinMode(9,OUTPUT); | pinMode(9,OUTPUT); | ||
| − | |||
pinMode(green_led_pin,OUTPUT); | pinMode(green_led_pin,OUTPUT); | ||
| − | |||
pinMode(pin_button,INPUT); | pinMode(pin_button,INPUT); | ||
| − | |||
lcd.begin(16, 2); | lcd.begin(16, 2); | ||
| − | |||
| − | |||
} | } | ||
void loop() { | void loop() { | ||
| − | |||
| − | |||
| − | |||
digitalWrite(10,LOW); | digitalWrite(10,LOW); | ||
| − | |||
digitalWrite(9,LOW); | digitalWrite(9,LOW); | ||
| − | |||
digitalWrite(8,LOW); | digitalWrite(8,LOW); | ||
| − | |||
lcd.clear(); | lcd.clear(); | ||
| − | |||
lcd.print("Nouvel essai"); | lcd.print("Nouvel essai"); | ||
| − | |||
delay(3000); | delay(3000); | ||
| − | |||
lcd.clear(); | lcd.clear(); | ||
lcd.print("Pret ?"); | lcd.print("Pret ?"); | ||
| − | |||
lcd.setCursor(0,0); | lcd.setCursor(0,0); | ||
| − | |||
attente = random(0,10000); | attente = random(0,10000); | ||
| − | |||
for(int i=0;i<=attente;i++){ | for(int i=0;i<=attente;i++){ | ||
| − | |||
delay(1); | delay(1); | ||
| − | |||
if (digitalRead(pin_button)==true){ | if (digitalRead(pin_button)==true){ | ||
| − | |||
goto fin; | goto fin; | ||
| − | |||
} | } | ||
| − | |||
} | } | ||
| − | |||
digitalWrite(led_pin,HIGH); | digitalWrite(led_pin,HIGH); | ||
| − | |||
lcd.print("Appuyez !"); | lcd.print("Appuyez !"); | ||
| − | |||
temps=millis(); | temps=millis(); | ||
| − | |||
while(digitalRead(pin_button)==false){ | while(digitalRead(pin_button)==false){ | ||
| − | |||
} | } | ||
| − | |||
lcd.clear(); | lcd.clear(); | ||
| − | |||
digitalWrite(led_pin,LOW); | digitalWrite(led_pin,LOW); | ||
| − | |||
tempsf=millis()-temps; | tempsf=millis()-temps; | ||
| − | + | lcd.print(String("Temps :")+tempsf+String(" ms")); | |
| − | lcd.print(String(" | ||
| − | |||
lcd.setCursor(0,2); | lcd.setCursor(0,2); | ||
if(tempsf<=300){ | if(tempsf<=300){ | ||
| − | |||
digitalWrite(10,HIGH); | digitalWrite(10,HIGH); | ||
| − | + | lcd.println("Bien joue! "); | |
| − | lcd.println("Bien joue! | ||
| − | |||
} | } | ||
if(tempsf>=300 && tempsf<=700){ | if(tempsf>=300 && tempsf<=700){ | ||
| − | |||
digitalWrite(9,HIGH); | digitalWrite(9,HIGH); | ||
| − | |||
lcd.println("Peu mieux faire!"); | lcd.println("Peu mieux faire!"); | ||
| − | |||
} | } | ||
if(tempsf>=700){ | if(tempsf>=700){ | ||
| − | |||
digitalWrite(8,HIGH); | digitalWrite(8,HIGH); | ||
| − | + | lcd.println("Trop lent! "); | |
| − | lcd.println("Trop lent! | ||
| − | |||
} | } | ||
while(digitalRead(begin_button)==false){ | while(digitalRead(begin_button)==false){ | ||
| − | |||
| − | |||
} | } | ||
fin: | fin: | ||
| − | |||
lcd.println("NULL"); | lcd.println("NULL"); | ||
| − | + | } | |
| + | </syntaxhighlight> | ||
}} | }} | ||
{{Tuto Step | {{Tuto Step | ||
Version actuelle datée du 20 novembre 2021 à 08:42
Durant cette expérimentation nous réaliseront un petit jeu basé sur le temps de réaction de l'utilisateur.
Difficulté
Facile
Durée
4 heure(s)
Disciplines scientifiques
Arduino, Informatique
- Matériel et outils
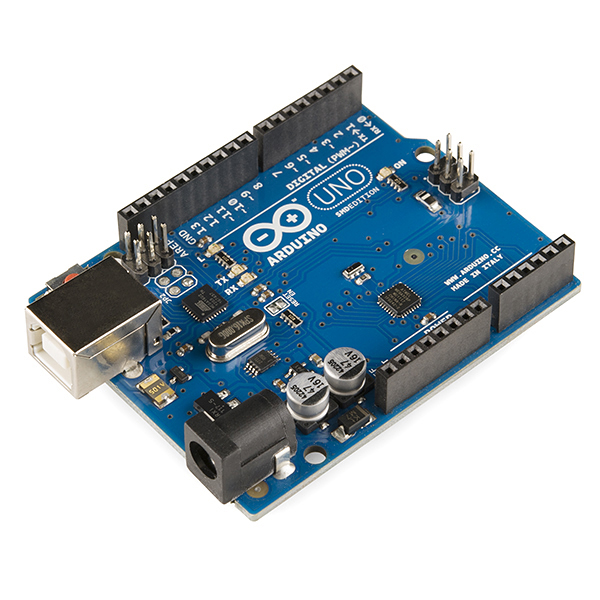
Arduino
Arduino, et son synonyme Genuino sont des micro-controleurs libres.
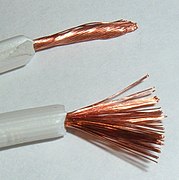
Fil électrique
Un fil électrique : est le composant électro technique servant au transport de l'électricité, afin de transmettre de l'énergie et de l'information. Il est constitué d'un matériau conducteur, mono-brin ou multi-brin, souvent entouré d'une enveloppe isolante (plastique, Téflon...). L'intérieur du fil électrique est appelée « âme » du fil.
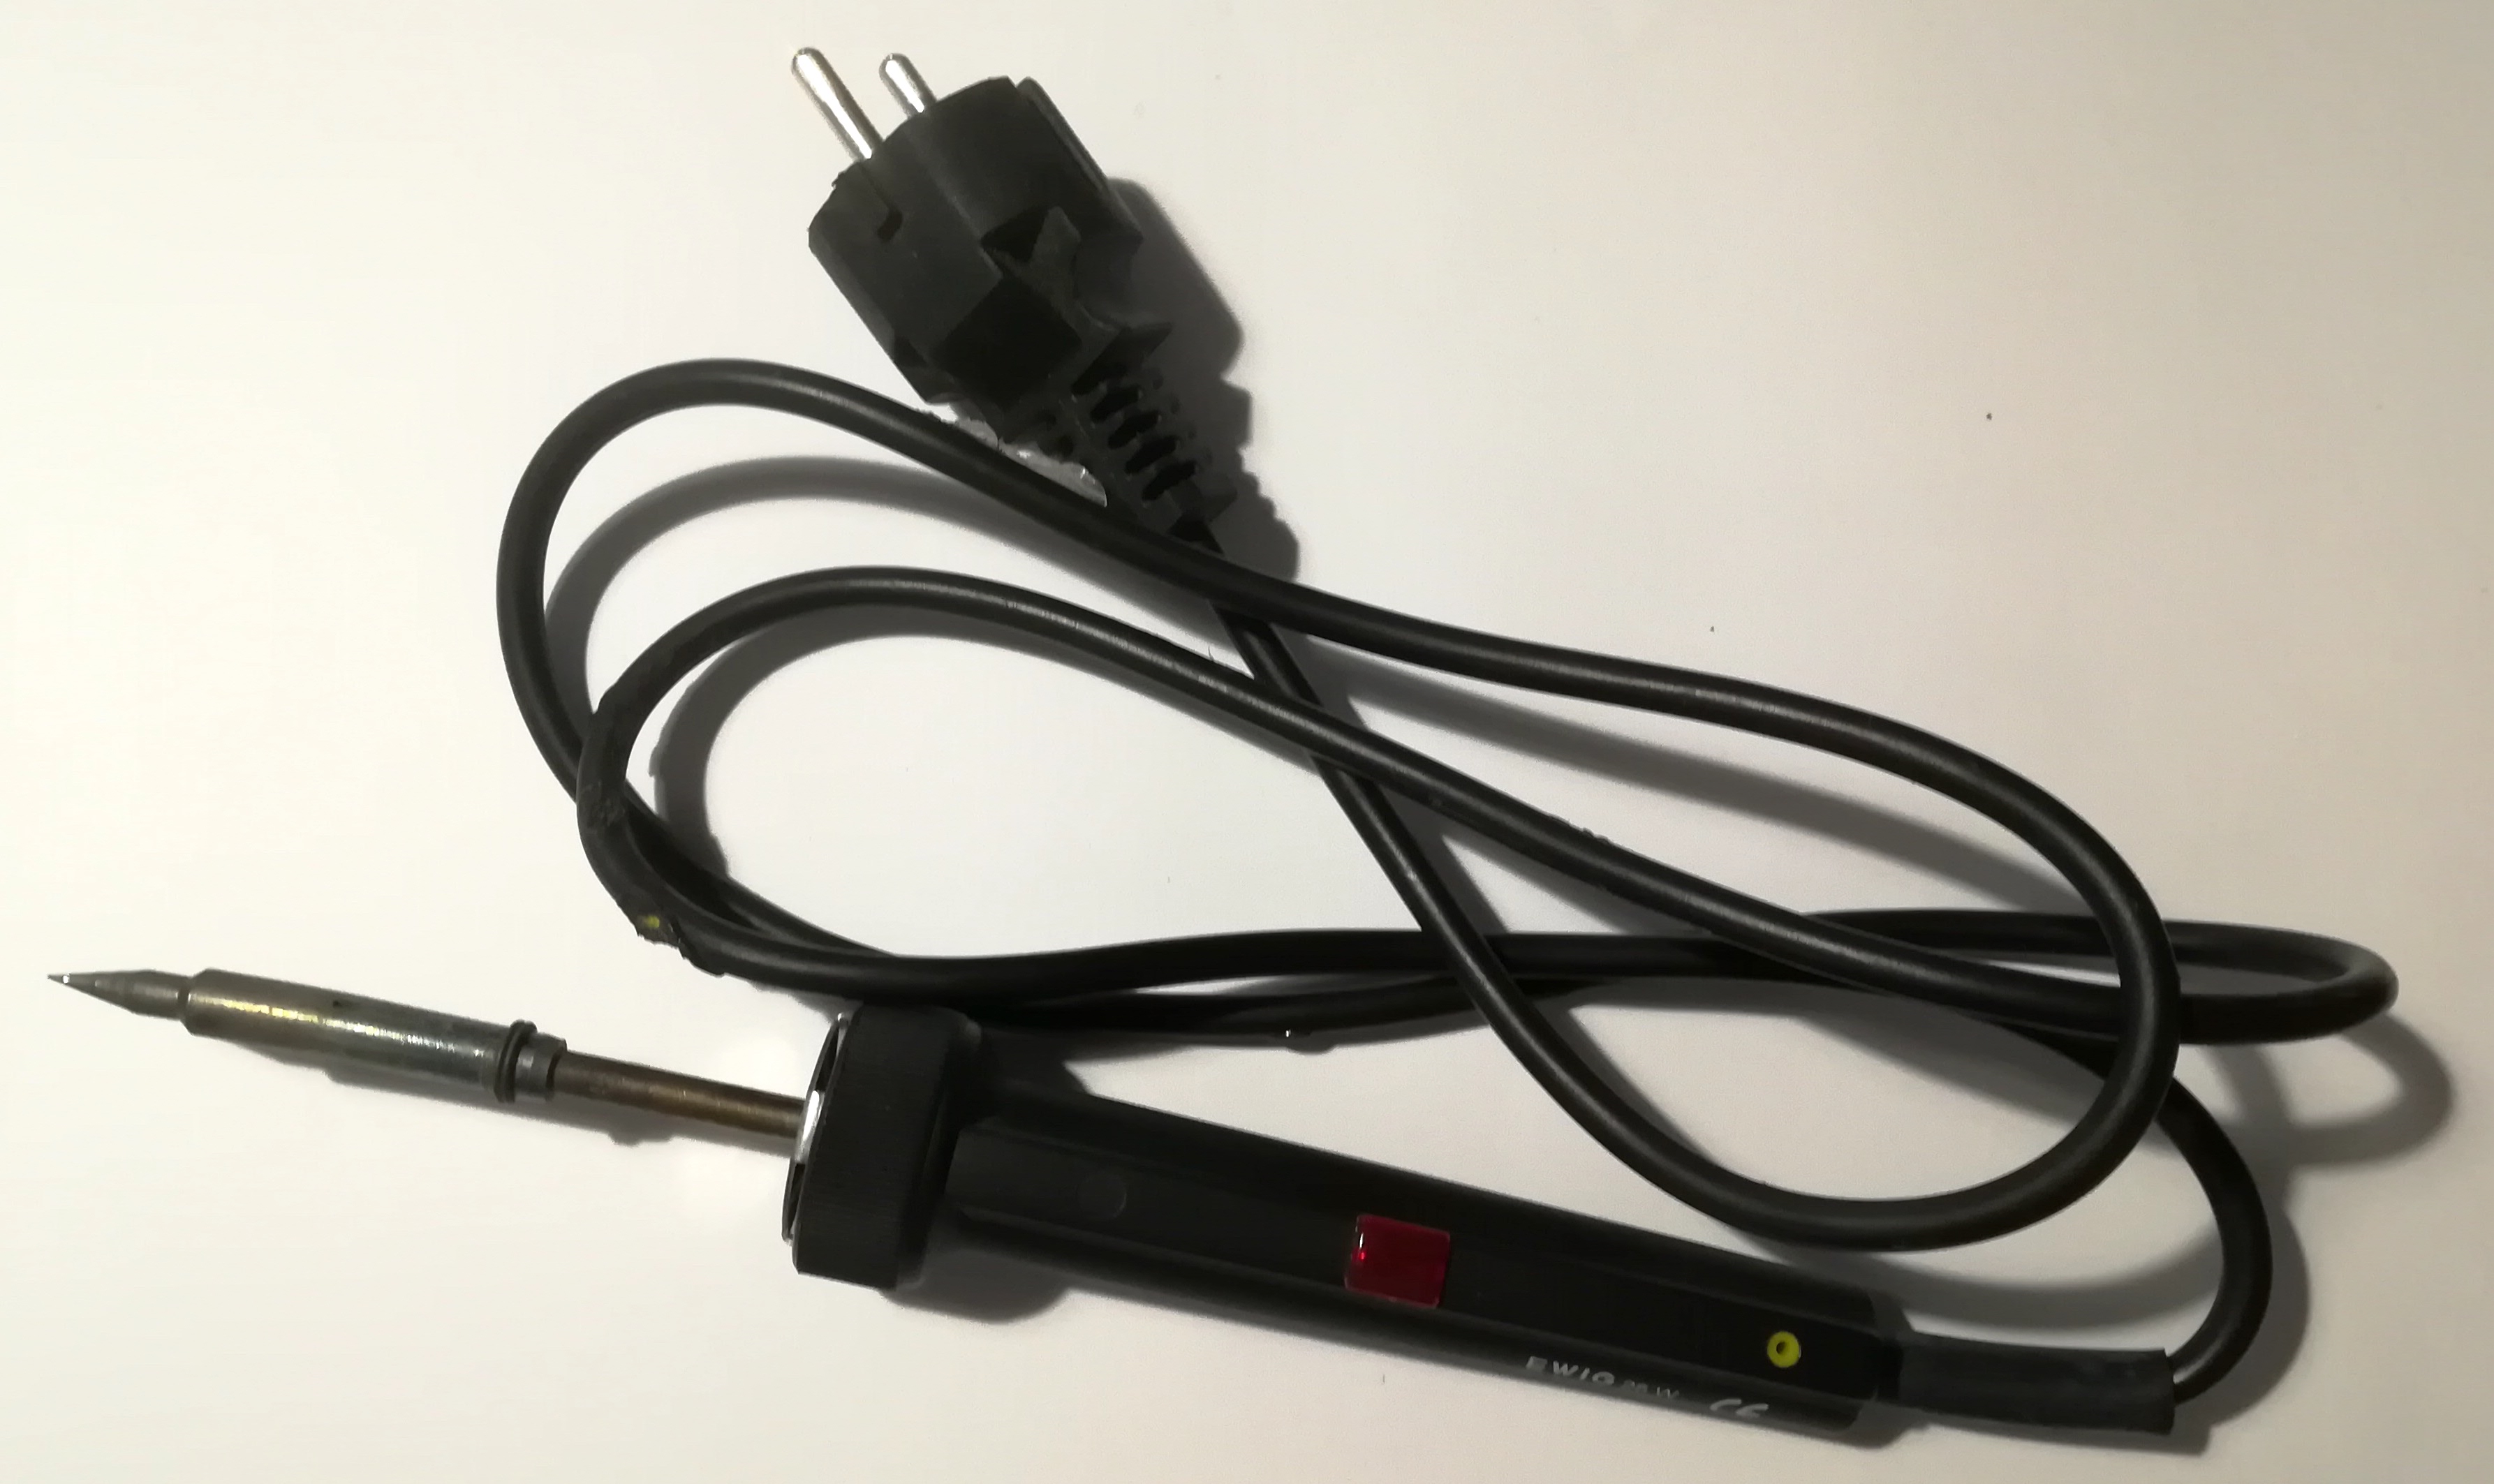
Fer à souder
Un fer à souder, ou plus précisément un fer à braser, est un outil chauffant permettant de réaliser une opération de brasage. L'usage courant du fer à souder se fait dans le domaine du montage de composants électroniques.
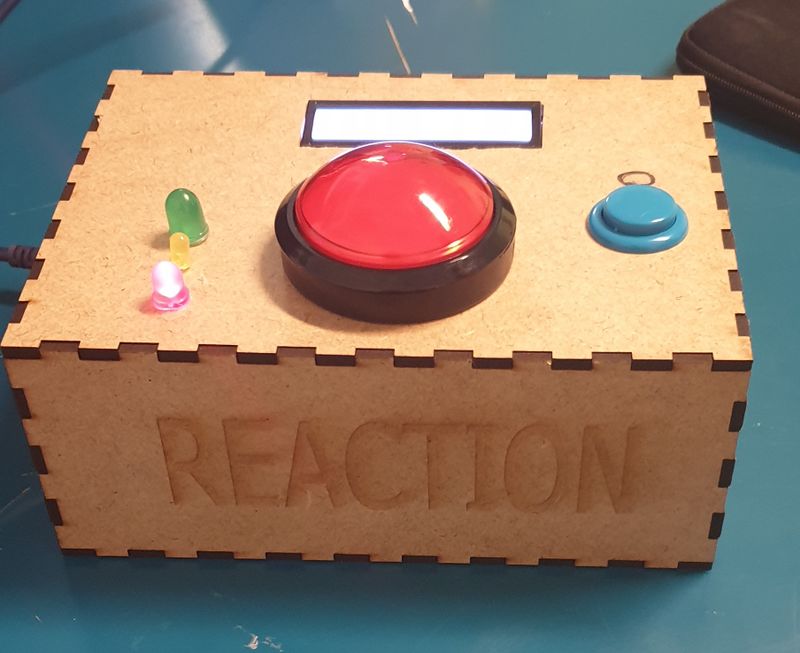
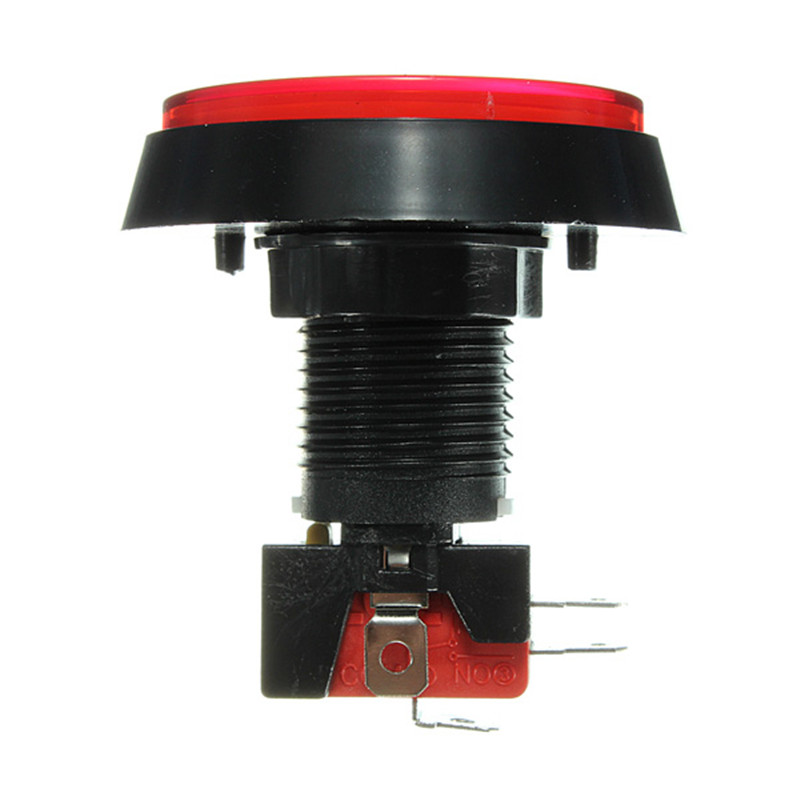
Gros bouton rouge
Gros bouton rouge donnant une envie irrépressible d'appuyer dessus
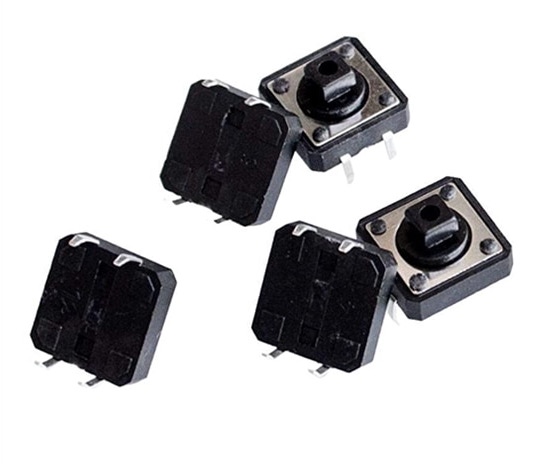
Bouton poussoir
Un bouton (ou bouton poussoir) est un coupe-circuit mécanique (un interrupteur).
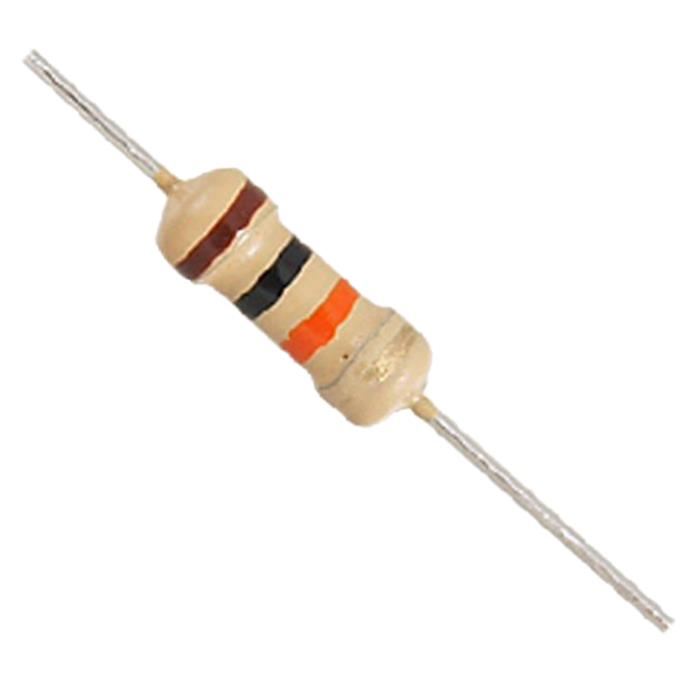
Résistance
Une résistance est un composant électronique ou électrique dont la principale caractéristique est d'opposer une plus ou moins grande résistance (mesurée en ohms) à la circulation du courant électrique.
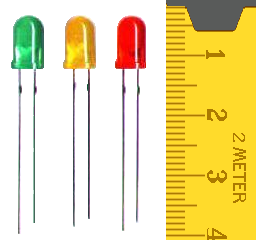
LED
LED signifie Light Emiting Diod (Diode Electro-Luminescente).
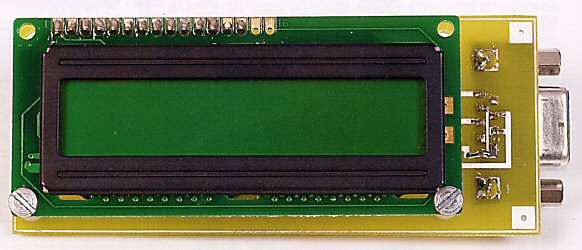
Afficheur LCD
L'afficheur LCD aussi appelé afficheur à cristaux liquide, est un module compact intelligent et nécessite peu de composants externes pour un bon fonctionnement. Il consomme relativement peu (de 1 à 5 mA), et est relativement bon marché. Il s'utilise aussi avec beaucoup de facilité.
Étape 1 - Le code
 1 #include <Wire.h>
 2 #include "rgb_lcd.h"
 3
 4 rgb_lcd lcd;
 5 const int led_pin = 2,
 6 pin_button = 4,
 7 begin_button = 6,
 8 red_led_pin=8,
 9 yellow_led_pin=9,
10 green_led_pin=10;
11
12 unsigned long temps, tempsf;
13 int attente;
14
15 void setup() {
16 pinMode(led_pin,OUTPUT);
17 pinMode(red_led_pin,OUTPUT);
18 pinMode(9,OUTPUT);
19 pinMode(green_led_pin,OUTPUT);
20 pinMode(pin_button,INPUT);
21 lcd.begin(16, 2);
22 }
23
24 void loop() {
25 digitalWrite(10,LOW);
26 digitalWrite(9,LOW);
27 digitalWrite(8,LOW);
28 lcd.clear();
29 lcd.print("Nouvel essai");
30 delay(3000);
31 lcd.clear();
32
33 lcd.print("Pret ?");
34 lcd.setCursor(0,0);
35 attente = random(0,10000);
36 for(int i=0;i<=attente;i++){
37 delay(1);
38 if (digitalRead(pin_button)==true){
39 goto fin;
40 }
41 }
42 digitalWrite(led_pin,HIGH);
43 lcd.print("Appuyez !");
44 temps=millis();
45 while(digitalRead(pin_button)==false){
46 }
47 lcd.clear();
48 digitalWrite(led_pin,LOW);
49 tempsf=millis()-temps;
50 lcd.print(String("Temps :")+tempsf+String(" ms"));
51 lcd.setCursor(0,2);
52
53 if(tempsf<=300){
54 digitalWrite(10,HIGH);
55 lcd.println("Bien joue! ");
56 }
57
58 if(tempsf>=300 && tempsf<=700){
59 digitalWrite(9,HIGH);
60 lcd.println("Peu mieux faire!");
61 }
62
63 if(tempsf>=700){
64 digitalWrite(8,HIGH);
65 lcd.println("Trop lent! ");
66 }
67
68 while(digitalRead(begin_button)==false){
69 }
70
71 fin:
72 lcd.println("NULL");
73 }
Étape 2 - Fabriquer la boite
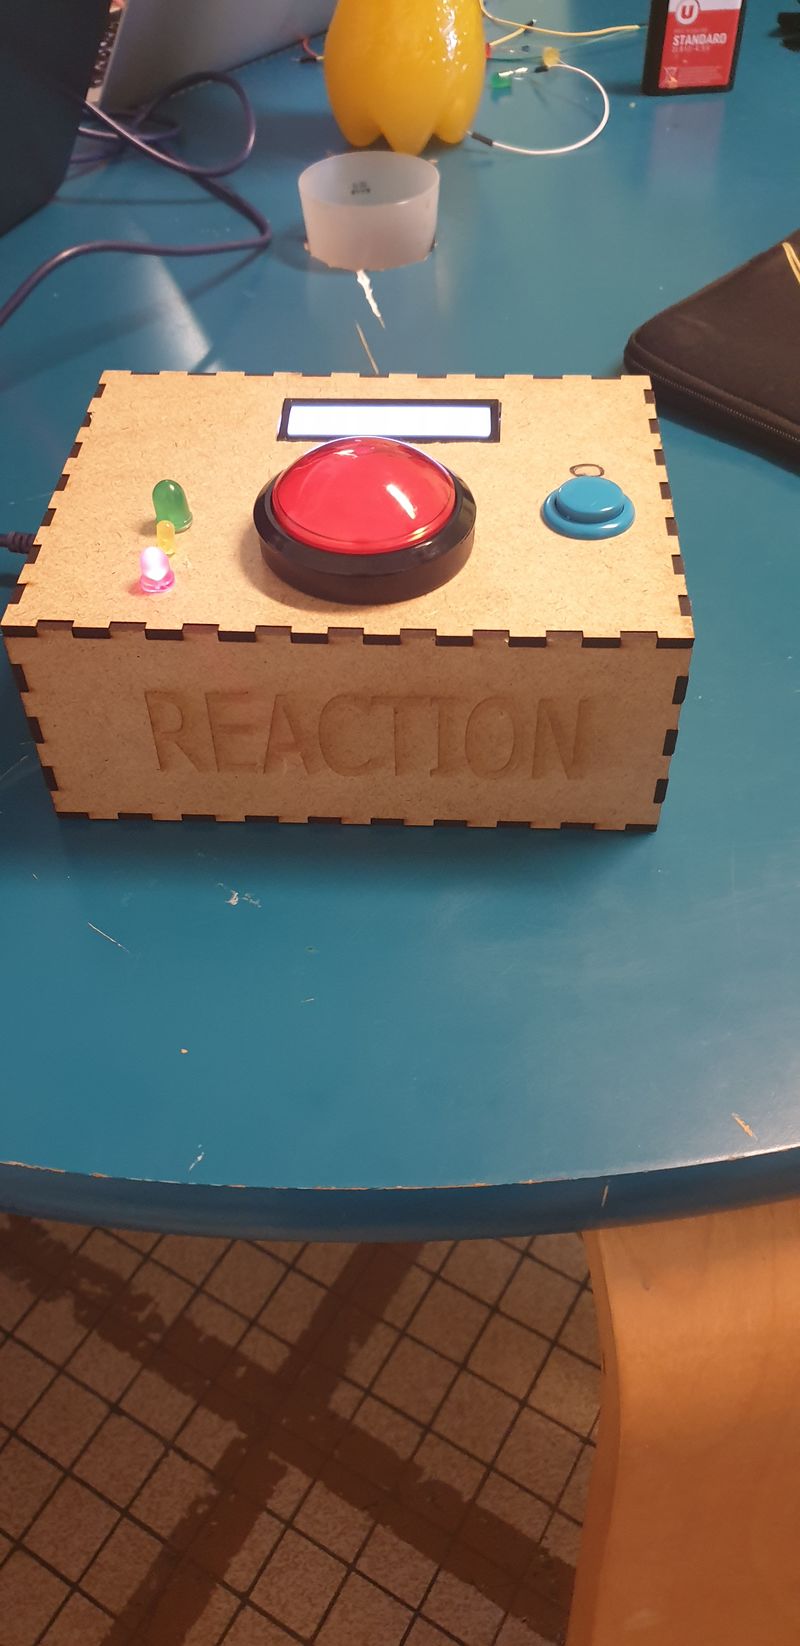
Fabriquez à l'aide d'une découpeuse laser et le site "générateur de boite" la boite qui contiendra votre montage électrique.
Étape 3 - Réalisation du montage
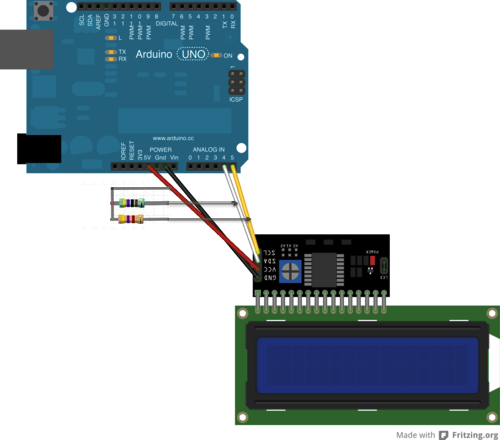
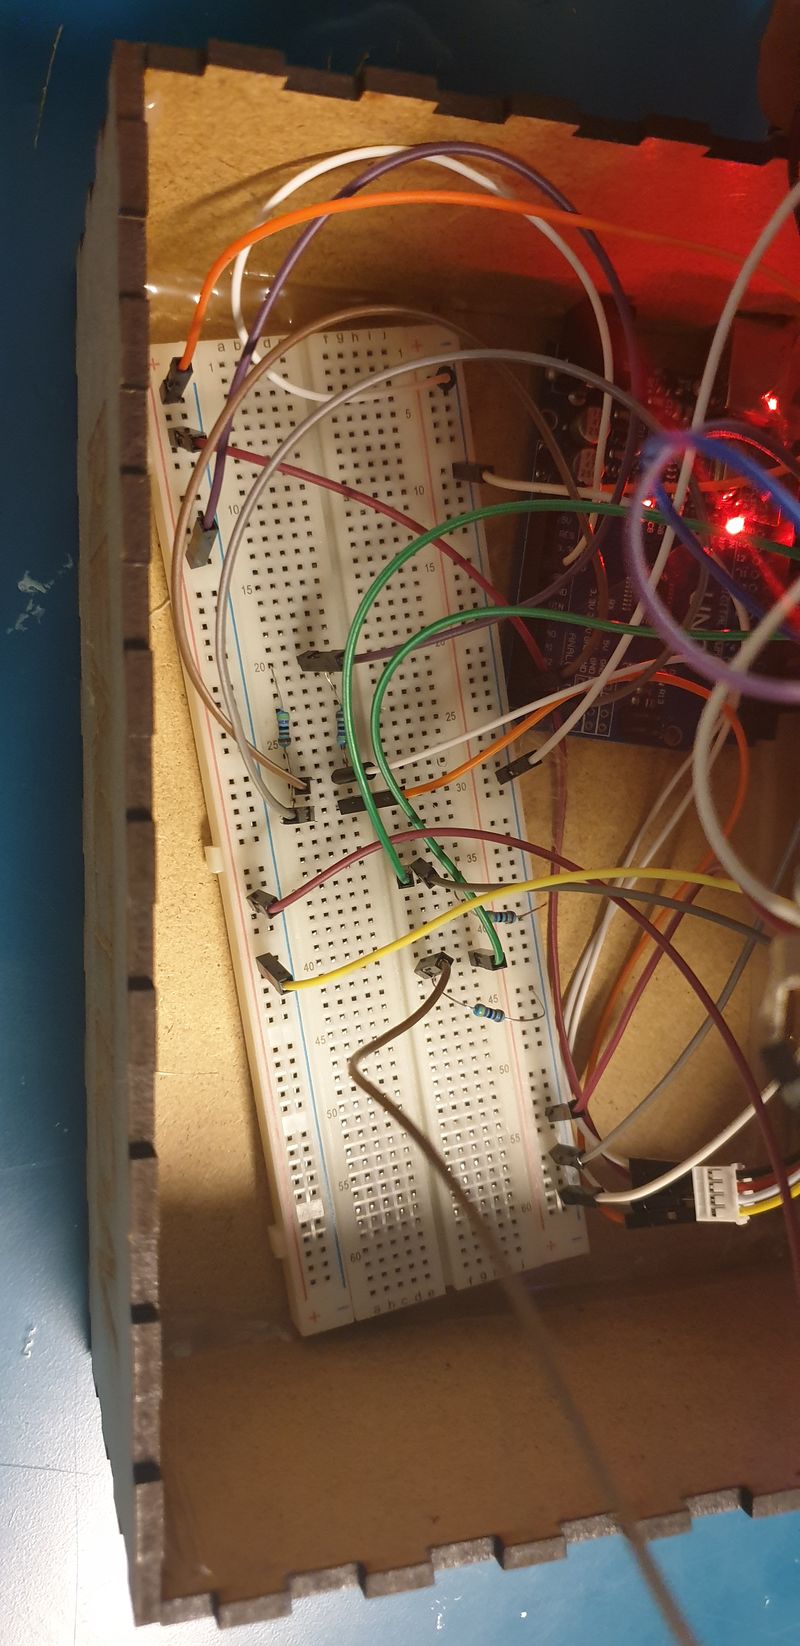
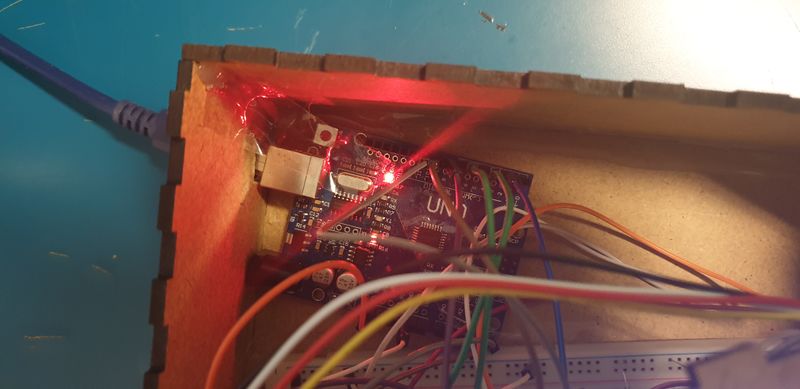
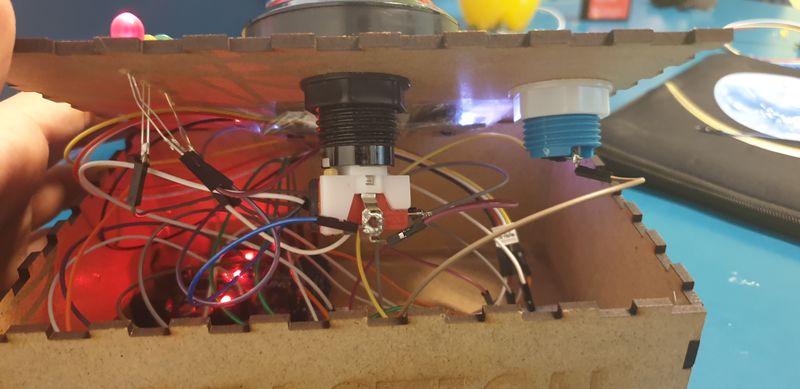
Réaliser le montage du lcd comme sur la figure. Brancher les leds avec une patte sur la masse et une autre sur la broche digital correspondante. Brancher les boutons sur les pins correspondants en oubliant pas de rajouter des résistances de fuite.
Comment ça marche ?
Mise en garde : qu'est-ce qui pourrait faire rater l'expérience ?
Composants défectueux
Dernière modification 20/11/2021 par user:Antonydbzh.
Draft
